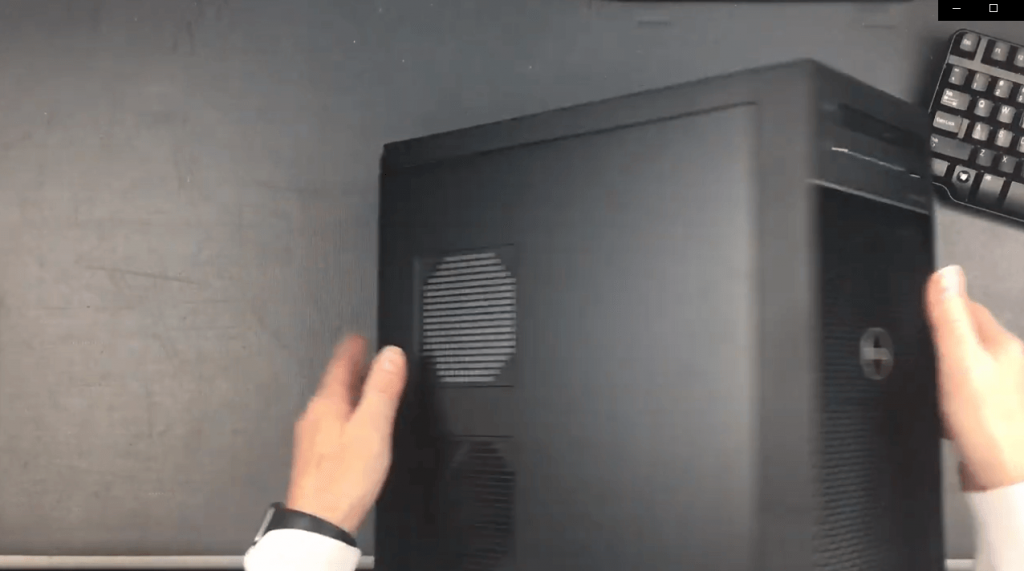
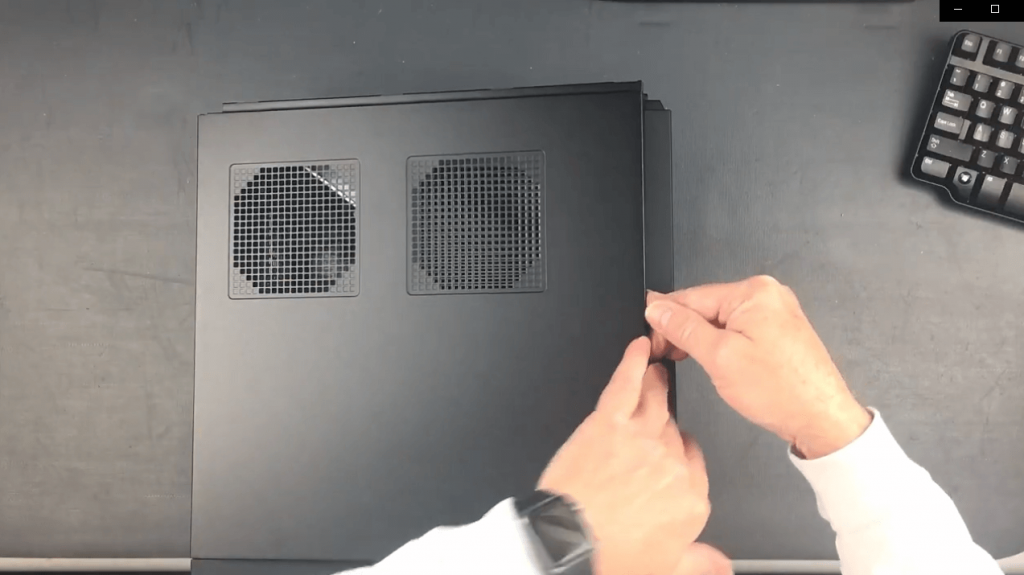
Today, we will be working with a Dell Precision 3640 computer. These are the computers that we use as the basis for our Premium and Pro systems. So, I’m going to be assuming that this is the system that you are needing to install a video card in. To begin with, what I like to do is lay these down on their right side.
As you’re looking at the front lay it down on the right side. I prefer to have it turned away from me so that the is towards me and the back panel is away from me I just think it’s easier to work with.
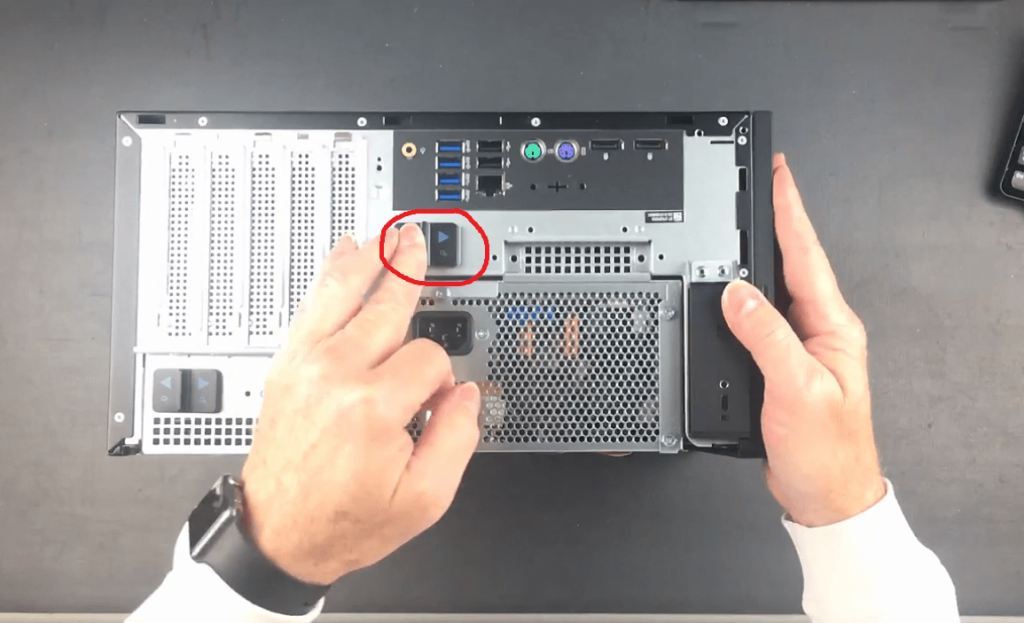
I will start by reaching around the back and pulling out on that latch that’s right there.
Just pull straight out and then lift up on the cover.
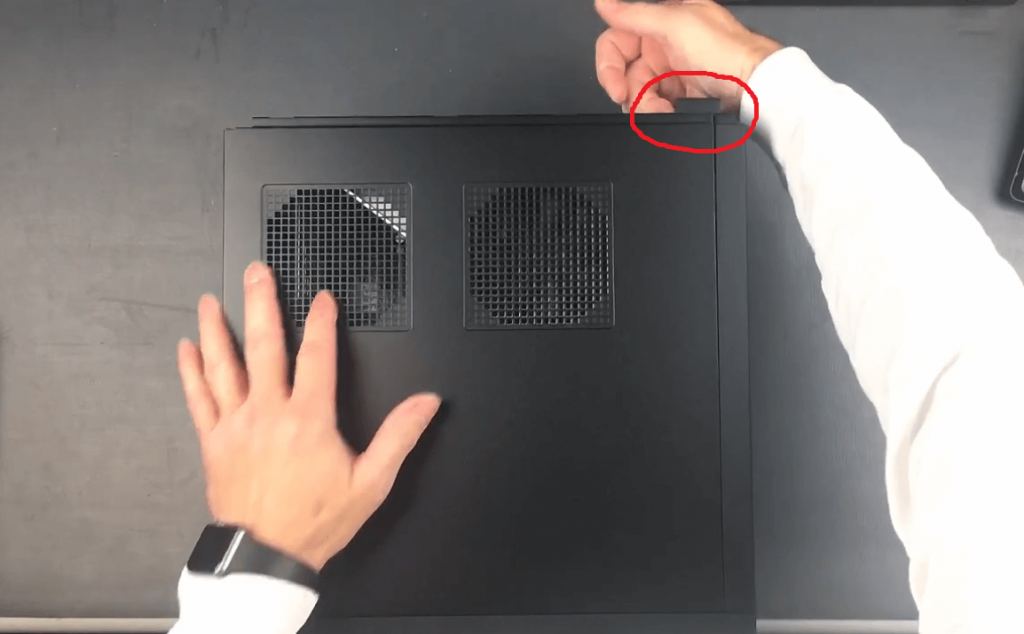
This left-side cover will pull up at what is the top edge and it’ll only go about 15 to 20 degrees before it starts catching. So you want to in that slight angle position just move it straight out and up.
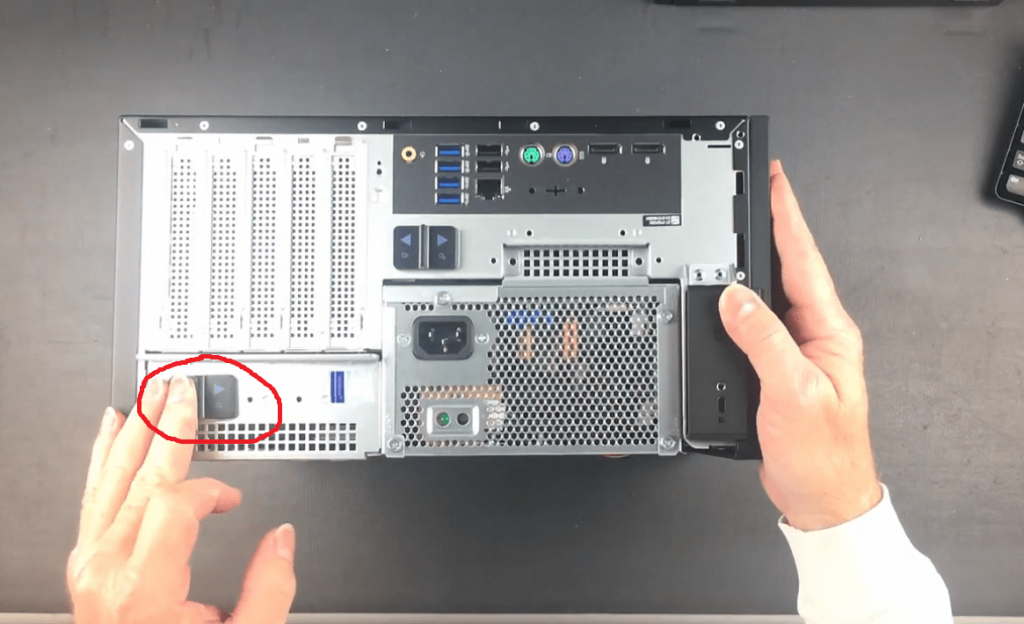
The next thing that you need to do is unlatch the power supply.
The power supply pivots on two hinge points.
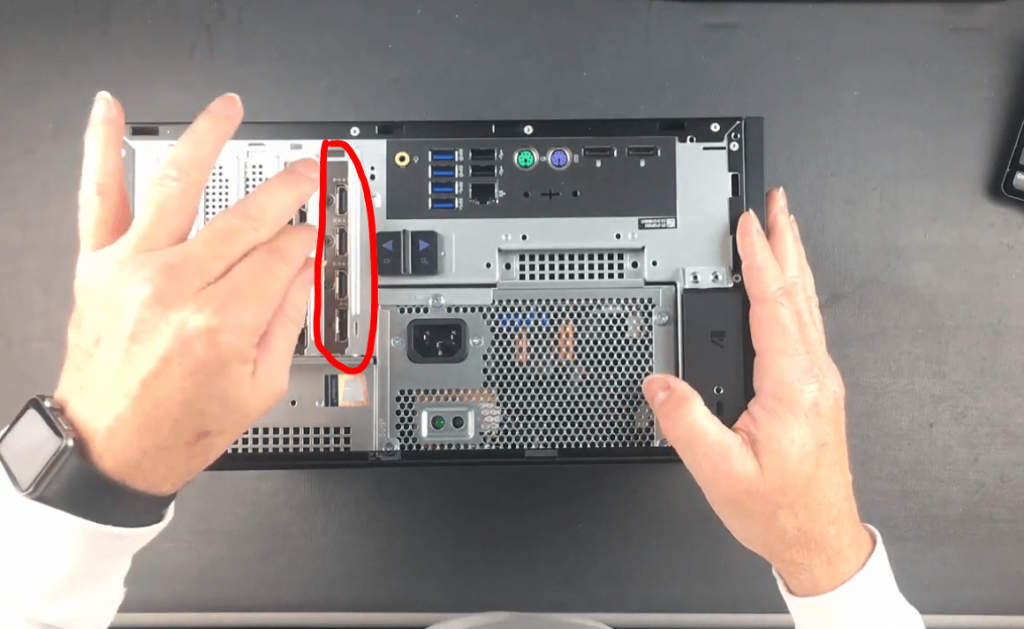
There are latches on the back panel.
I usually can reach around the back and just unlock them
Put the computer on its face.
It is nice to have a padded surface when you’re working on these.
You just need to slide those to the unlock position.
There’s a little icon on there for that.
It is toward the top of the case.
Then set that back down.
Then what we’ll do is hold on to the back top of the case with one hand and then pull up.
Those hinges don’t just swing up freely.
You actually do need to pull up.
It does have some tension on it and that’s just to hold it in place because you can open it at pretty much any angle just leave it there.
It is worthwhile noting that it’s a good idea to keep an eye out for the wires.
They are nearly always fine.
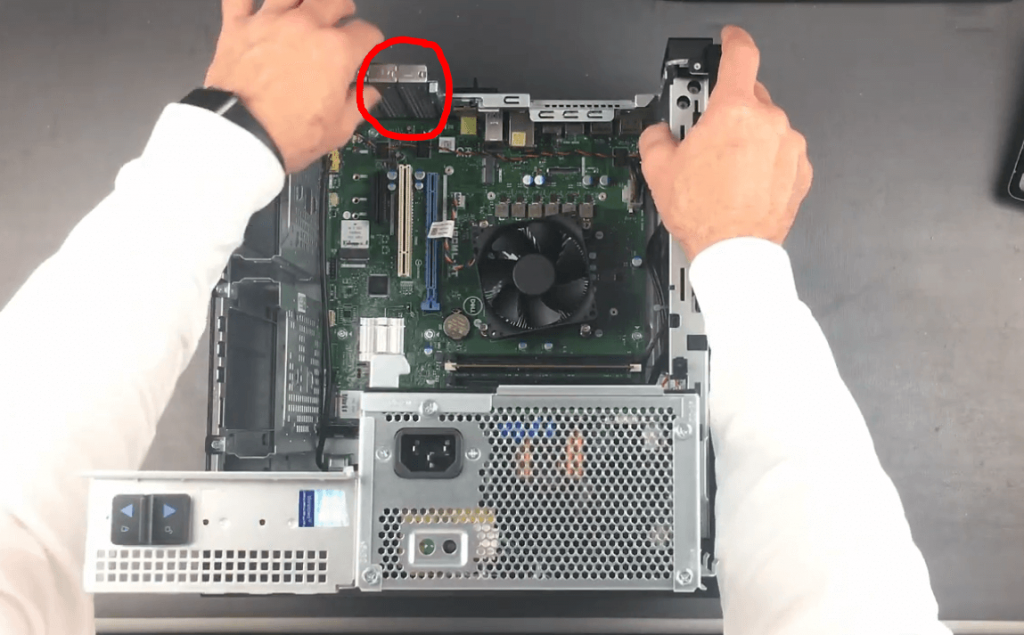
Then the power supply is out of your way and you have access to the internal of the computer chassis.

What we’re going to do is install a video card into the PCI-e 16x slot which in the case of this particular computer is this LIGHT BLUE slot.
The white one is an old legacy slot for certain uses.
Almost no one uses those anymore.
Your video card almost certainly will cover it up so you don’t have to
worry about that.
The first thing we need to do is take these slot covers out.
They just pull up and straight out.
Set those off to the side.
Now we’re ready to put the video card in.
The video card we are installing today is GTX 1650.
Now we’re gonna be putting this straight in and down and you really cannot get it in the wrong place.
These slots are exactly the right distance.

This is keyed so if you set that down and line it up, you’ll know when it’s in the right place because it doesn’t want to move forward, backwards, side to side.
And then you can press it straight down.
It is worth noting that there is a latch right here on what I sometimes call the front, sometimes the back it’s away from the connectors.
But this latch actually will retain the video card in place using this finger that’s cut into the card itself.
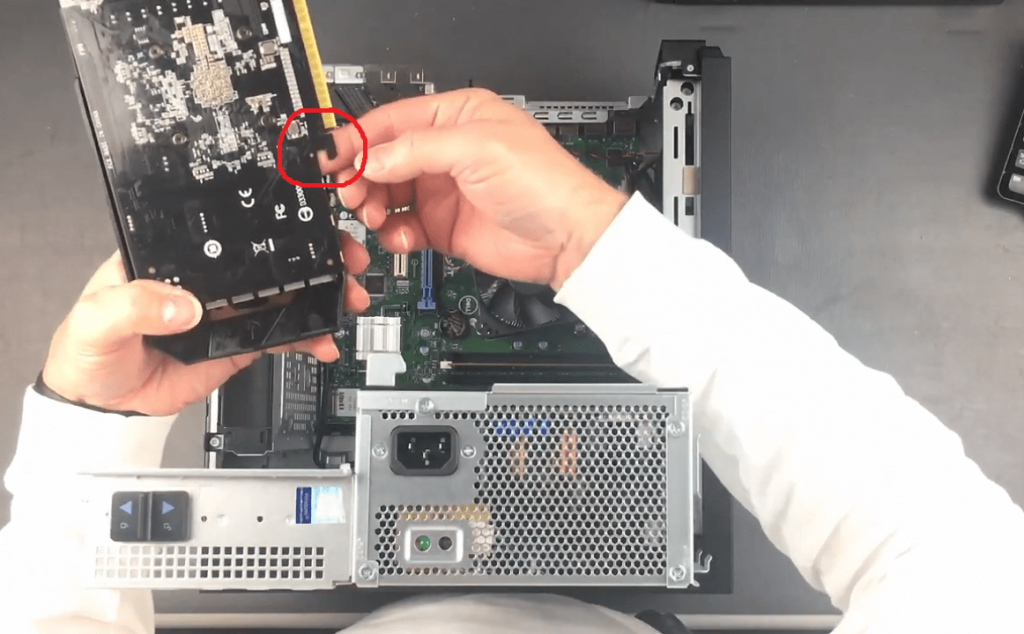
And so if you have one installed and you’re trying to remove it and you’re a hard time getting it out make sure you press down on that latch or there is one style of latch that actually is just a flexible piece of plastic that you need to pull out of the way to unlatch it from a little tab that’s there.
But of course, we’re putting it in an empty slot so we’re going to line it up, push it straight down and that’s it it’s done as far as installing it physically.
Once your card is installed, you’re satisfied that everything is down all the way in the back, everything is sitting flat and flush and you’re ready to go, you can swing the power supply down.
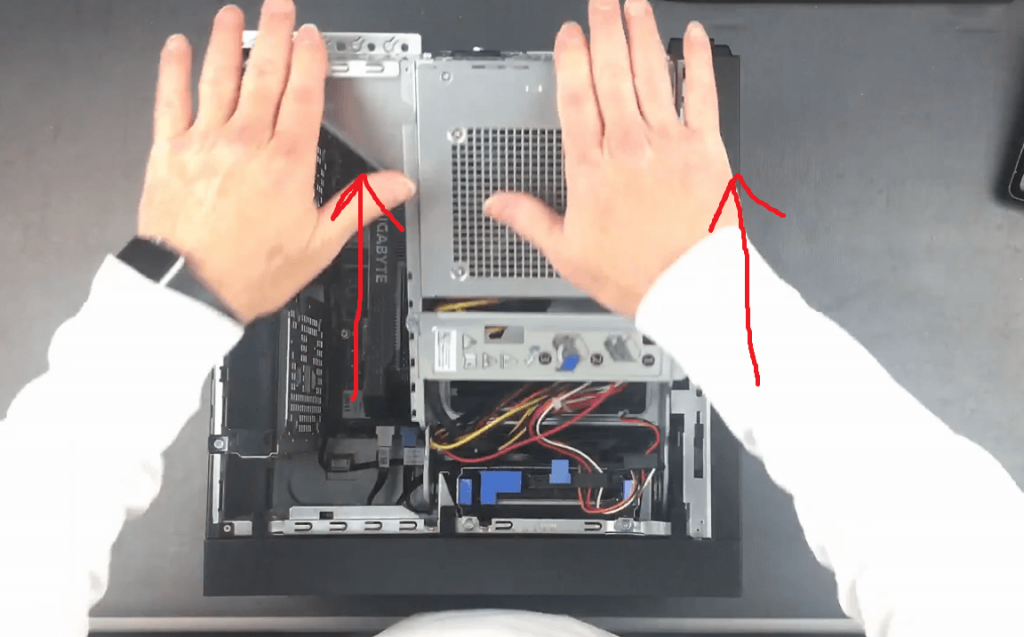
Lock the back latches on the case.
And then we’re going to work on this power.
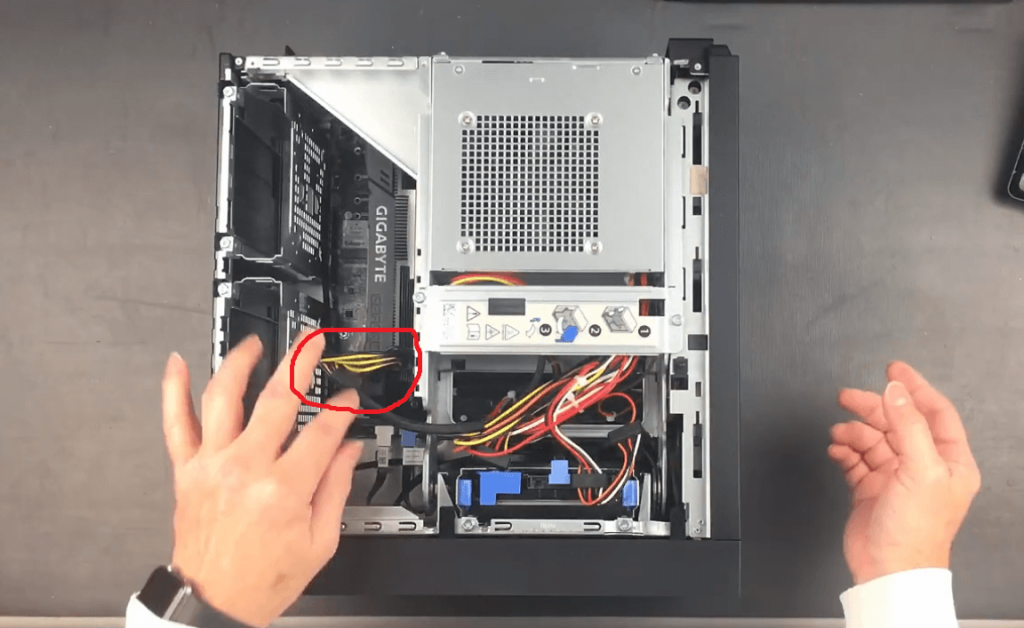
You may or may not have a power connector. The power connector is needed on any video card that requires more than 75 watts.
The PCIe bus can supply up to 75 watts of power to the card and the GTX 1650 models straddle both sides of that 75-watt border.
Some models of the 1650 don’t require any more than 75 watts and they will not have a connector
If you have a GTX 1660 for instance, you certainly will have a connector because those are a more powerful card or some other card that’s more advanced than that.
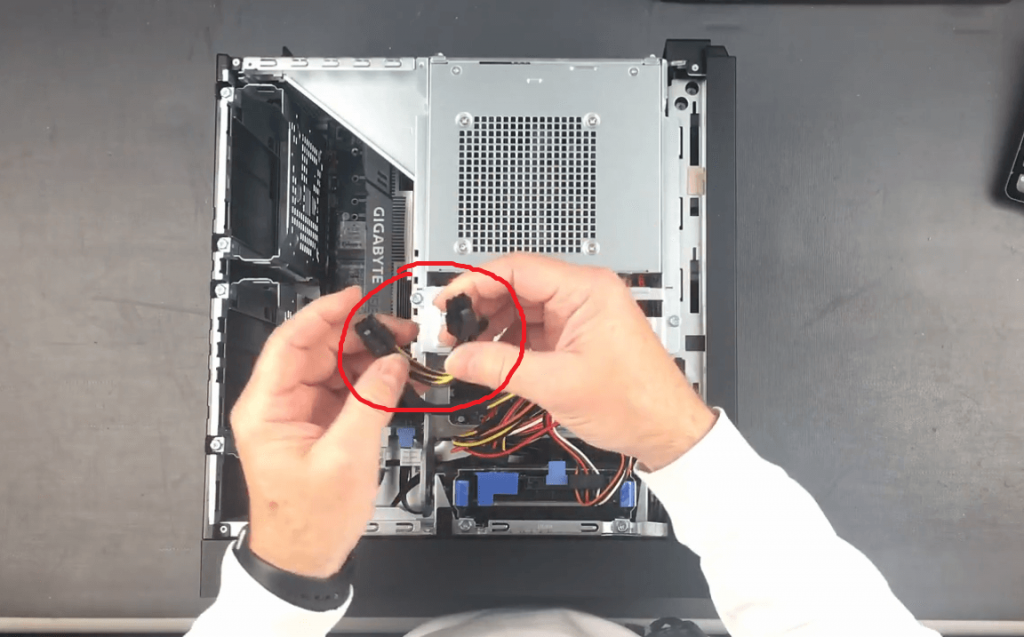
So there is a black and yellow power lead, it always has two six-pin connectors.
This is a PCIe power connector, and this particular one on this computer has two six pins and one of them has an optional two more pins because some more powerful cards do require an eight-pin connector. And you can snap those right on the end there and make that convert that into an eight-pin connector.
I plug that into the video card. Make sure it’s locked in place.
This is another good time to make sure the back of that card is locked in place.
It’ll move a little bit but it will not just start coming up out of the case if it’s latched in place.
And that’s it you’re done.
You’re ready to put the cover back on.
Once again, that cover has four fingers along the bottom edge and those are going to go into little slots that are in the bottom of the case.
so you need to put it right back down at a 15-20 degree angle.
And then just latch it in place.
You’ll want to put all your video outputs connected to or the inputs to
your video connected to the outputs of this video card and not use the onboard outputs that are here.
These connect to the intel onboard video which is okay for general-purpose tasks but the card you’re installing is much better and so always install your video to these connections.
If you have any questions let us know!